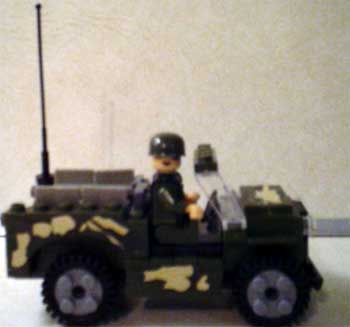
Here's How You Build a Ride Fun Bobbing Heads Truck Toy
As the wheels turn, heads move up and down as if riding over bumpy terrain.
TOOLS
Handsaw
Hacksaw
Hand drill
¼-inch drill bit
¾-inch flat-spade bit
Half-round file
Mallet
Pliers
Paint and paintbrush
Pencil and paper
Hacksaw
Hand drill
¼-inch drill bit
¾-inch flat-spade bit
Half-round file
Mallet
Pliers
Paint and paintbrush
Pencil and paper
MATERIALS
Wood
(Use clear, light softwood.)
Front cab: (2) 1 by 4 by 4 inches (2) 1 by 2 by 4 inches
(1) 1 by 4 by 2 inches
(2) 1 by 6 by 8 inches (2) 1 by 6 by 8 inches (1) 1 by 6 by 8 inches
Faces: (3) round drawer pull knobs, 1 inch in diameter
Wheels: (6) wood buttons, 1¼ inch in diameter or 6 pieces, ¼-inch thick, cut from a 1-inch-diameter dowel
Headlights and axle mounts: assorted small pieces of wood
Short body: (1) dowel, ½ inch in diameter by 3 inches
Tall body: (1) dowel, ½ inch in diameter by 6 inches
2 pieces of coat hanger wire, 8 inches, for axles Epoxy glue
Finishing materials (See instructions)
THE TOY
The bobbing figures provide an element of surprise in these simply constructed boxes. This effect is accomplished with two bent axles that are attached to the dowel figures.
As the wheels turn, the bent axles raise the dowels up and then just as quickly, down. Each axle, made of coat hanger wire, must freely revolve inside its own compartment. Epoxy glue is used to bond wheel to axle.
PROCEDURE
Construct the van and the cab frames as shown in the illustrations by butt-jointing the four sides together. Drill two ¾-inch-diameter holes in the top of each box. Enlarge the hole with a half-round file to enable the dowel to move up and down unhindered.
Slip a metal axle through a predrilled ⅛-inch-diameter hole at the bottom of each dowel to be used for a body, at a point ⅛ inch up from the bottom.
Drill axle mounts in the center with a ⅛-inch drill to accept coat hanger wire, and glue and clamp axle mounts to the bottom edge of each box.
Turn each truck box over, and, with the needle-nosed pliers or slip-joint pliers, bend the axle to match the shape shown in this image.
Apply epoxy cement to wheels (either button or dowel) and tips of wire axles and position wheels quickly for best bonding effect.
Paint the drawer knobs to make faces and lightly tap them onto the dowel ends with the mallet.
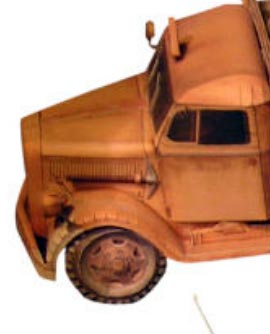
Join both boxes together by applying wood glue to the front surface of the van and the rear surface of the cab. Clamp in place until dry.
Add headlights made from thin dowel discs of ¾-inch diameter. Glue top panels in place and clamp.
Paint the drawer knobs to make faces and lightly tap them onto the dowel ends with the mallet.
Join both boxes together by applying wood glue to the front surface of the van and the rear surface of the cab. Clamp in place until dry.
Add headlights made from thin dowel discs of ¾-inch diameter. Glue top panels in place and clamp.
FINISHING
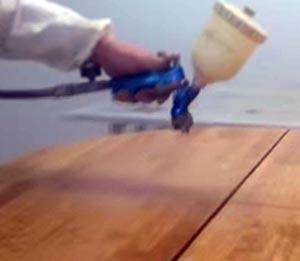
Make sure that you spray-lacquer the entire toy to guard against denting of the soft wood and accidental contact with moisture. Three thin coats will suffice nicely for a durable finish. Lightly steel-wool to remove glossy surface if a dull finish is required.
